Commercial Photography

Spine Surgery | Commissioned Work | Arkansas Commercial Photographer

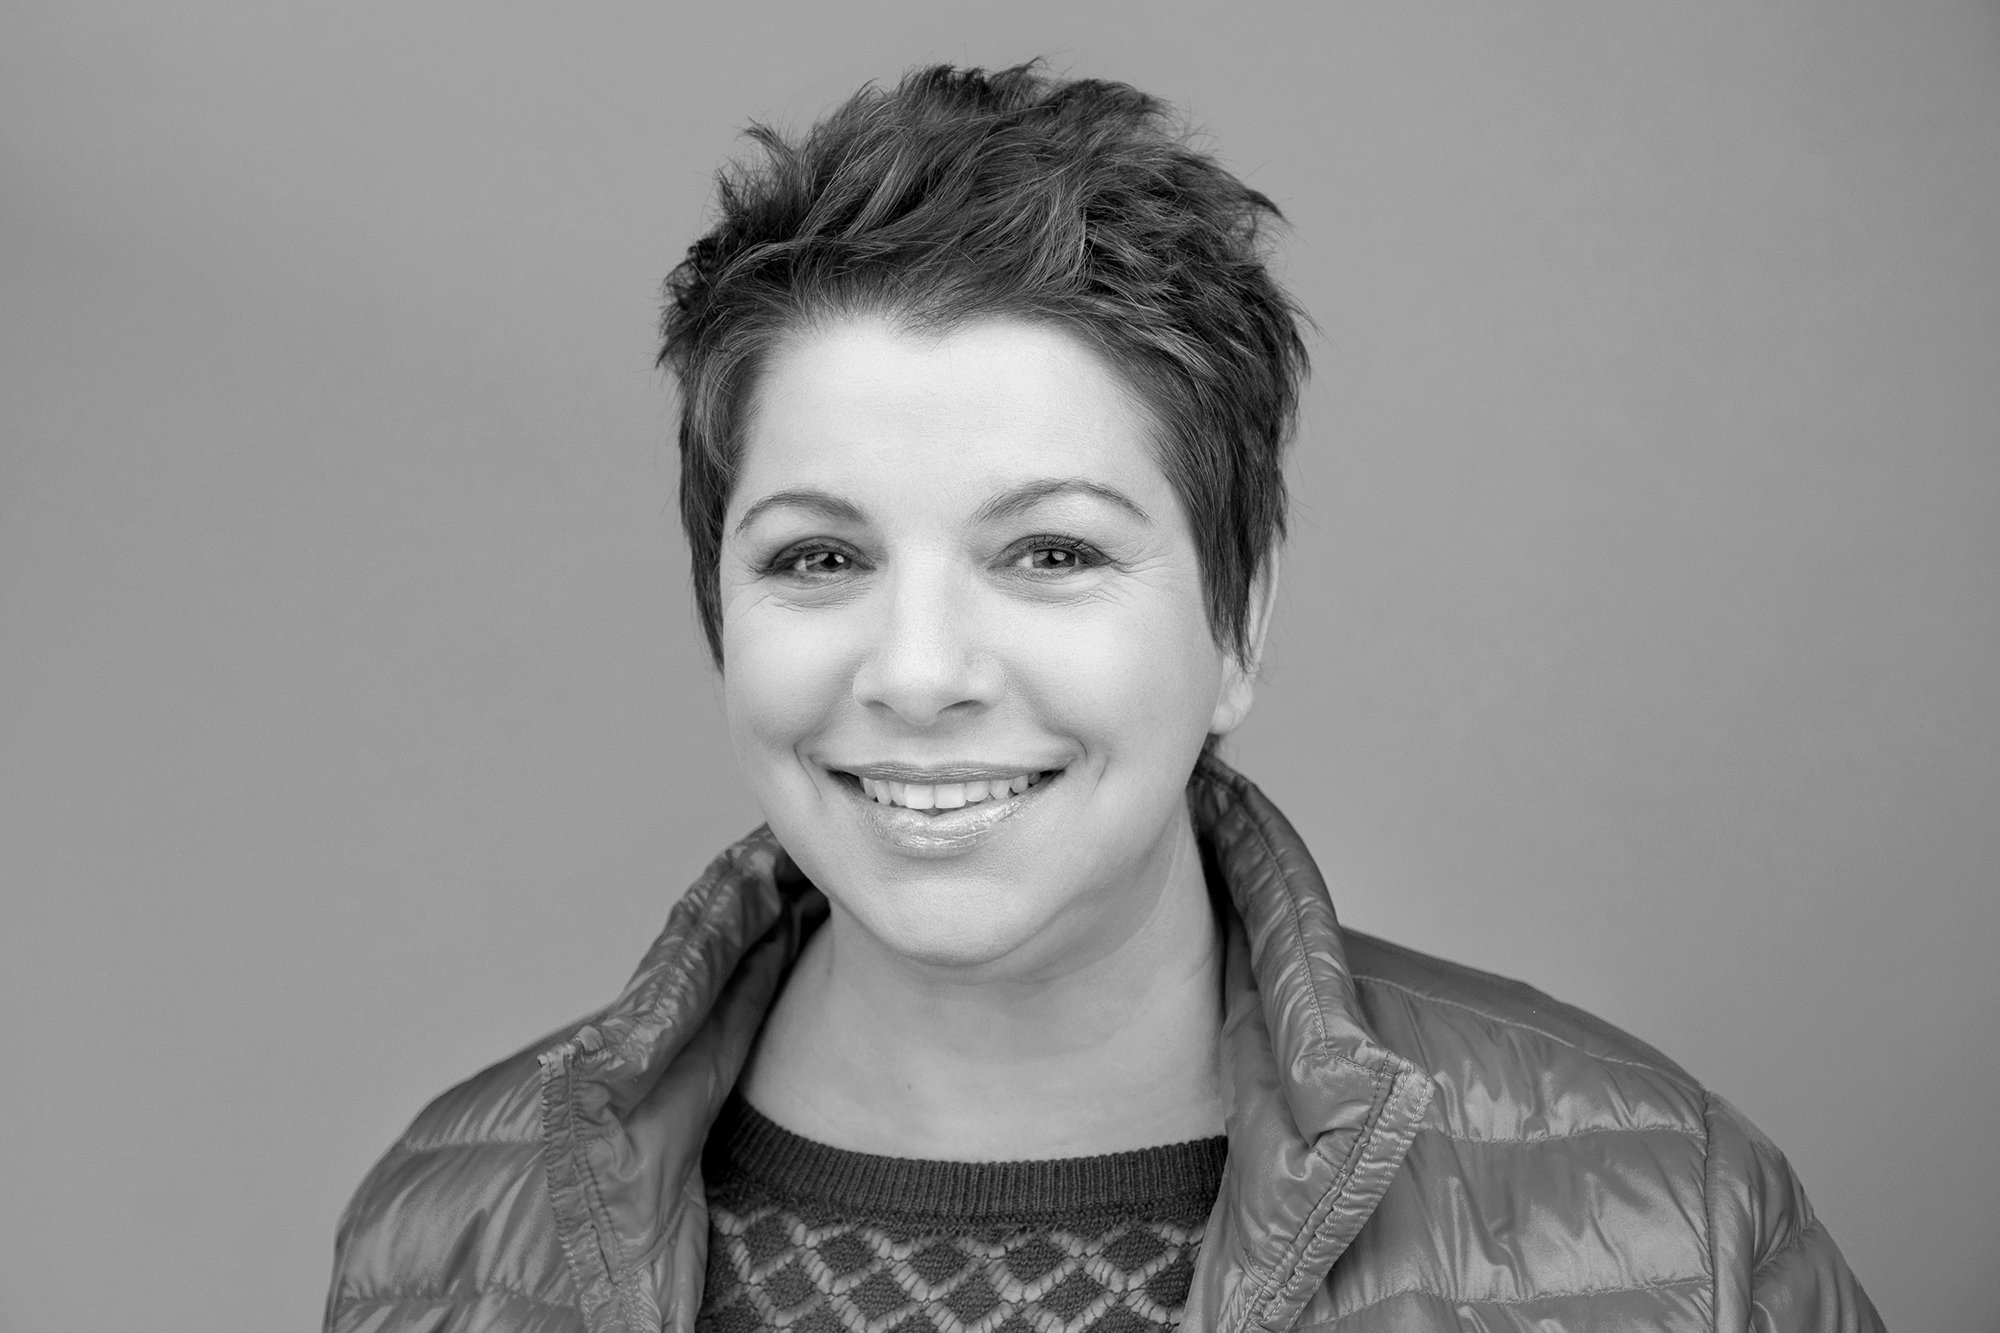
I met Dr. Kate McCarthy in July 2021 purely by chance at Starbucks. We struck up a conversation and immediately connected. During our conversation over coffee, I discovered she specializes in orthopedic surgery of the spine. I mentioned I was a professional photographer. She asked if I had ever photographed any surgeries. Not the kind of “surgery” set up for a TV commercial or an advertising photo shoot - I’ve photographed lots of those. She was referring to an actual, real surgery. My answer….yes, multiple times.

She continued by mentioning that on occasion, she operates with her father, Dr. Richard McCarthy, who was planning to retire in the near future. As a gift to him, she wanted to document one last surgery where they were both in the operating room together. I thought it would be a wonderful gift, and great opportunity for us both.

Fast forward to November 2021. After speaking with her patient, the hospital, her surgical team, all the necessary paperwork was signed. and permission was granted for the photos. I’ve photographed several surgeries over the years, but this was my first spinal surgery. I didn’t know what to expect or exactly what I’d be able to see.

After scrubbing in and being fully gowned, I kept my distance, shooting mostly with a long lens. I knew to never approach, or touch anything, that was draped in blue. After noticing I was standing at a distance, Dr. Kate asked me to come in close….really close and while still avoiding the blue drape. Dr. Kate wanted photos of her and her father operating very close-up. I photographed everything, and I do mean EVERYTHING.

I know this type of photography doesn’t appeal to many people, but I loved every, single minute I was in the operating room. To say photographing this surgery was fascinating is a major understatement. Since the patient had two spinal deformities, this surgery would allow full enjoyment life to its fullest in ways that weren’t possible before.

During my time in the operation room, I kept my footprint light and small. I had my rolling ThinkTank camera bag with all of gear, but also an old-school Domke shoulder bag for going back and forth between lenses. For much of the photo shoot, I opted to use a few of my prime lenses; 35mm & 50mm and both cameras were Canon 5D Mark III, using only ambient light.

I checked in with Dr. Kate before publishing this blog post and this is what she wrote, “Sadly, my husband and I have made a decision to leave Little Rock and move to Louisville. It’s a great opportunity for me professionally and for our family. I just wanted to make sure you knew. Can’t thank you enough for all you have done over the last year for me!”

Thank YOU, Dr. Kate! It was a honor knowing and working with you, your father and your surgical team. I hope our paths will cross again. This time, I’m buying the coffee.

New Year. New You. New Headshot

Real life scenario. I often get calls to meet a client either virtually (gotta love Zoom) or in person over coffee to discuss their upcoming photo needs. I am also hired by local and national magazines and agencies to photograph someone for a wide variety of reasons. So I can put a face with a name, I often look the person up on LinkedIn and/or visit their website (or their company's website) beforehand.

Then I meet them…and they look NOTHING like their online photo because their headshot is a decade old…or older.

Sure, we all wish we could turn back the hands of time and look young and perfect forever. This is often the reason many people, especially women, don’t update their headshot.

“I look old”

“I look fat”

“See all these wrinkles here???” ***points all over face…

You name the excuse. I’ve heard it. Sorry guys, you’re just as guilty.

If you haven’t recently updated your headshot, and you’ve run out of excuses, now is the time for a new and better photo of you. Here is why:

You want your online presence and photo to truly represent you and your brand. Whether you need business formal headshots, or business casual (I recommend both), an in-depth professional photo shoot is the perfect opportunity to really stand out as THE top choice for your customers.

Coming up with a plan: Before any photo shoot, I’ll discuss with you the look, style, mood, and purpose for your photos. If desired, we can capture a wide range of emotions with different background colors so you can have lots of options. I personally prefer a white background because it’s bright, airy and lends a fresh look to your photos. However, some individuals and companies prefer a light-to-medium grey background for a more formal look.

As a potential Client, you should consider your career — or future career goals — and how that will influence the look and mood of your photos. Do you need friendly or serious? Business formal or casual Friday? Do you want in studio or on-location? Or both? During our initial call or meeting we will discuss wardrobe options; I am always happy to lend suggestions. Another aspect that is often undervalued and overlooked is the investment of hiring a professional hair and makeup artist. Having a hair and makeup artist or wardrobe stylist on your photo shoot is a game changer. I have a small makeup kit in my camera bag to powder noses and hairspray to tame flyways, but there’s only so much I can do. Having an on-set professional to look out for hair, makeup, and wardrobe is critical to help you look your very best. It’s an investment, but it’s worth it.

During the photo shoot: I don’t limit the amount of wardrobe changes or background changes during my headshot sessions. I want you to have as much variety as possible. Within our time frame, there may be some limitations based on the number of outfits, comfort and ease in front of the camera, hair and makeup changes, etc. The more the variety, the better. I always proof photos on set to an iPad so you can see yourself and make adjustments to your posture, smile, body language. I encourage everyone not to be too overly critical and avoid nitpicking themselves. We are our own worst critic. All of those minor flaws can be fixed. Your smile, stance and body language are the most important things.

After the session: I create a password-protected online gallery so you can review your photos. The first preview of photos will have basic color-corrections. I invite you to take your time and go through a few rounds of selections to narrow down your top choices. I am happy to lend a second opinion, however the choice on which photo(s) you want is up to you. After you’ve made your final selection(s), then each photo is retouched in detail. It’s unrealistic to think you’ll look 20 years younger or 30 pounds lighter. Why? Because it’s not real. It’s not who you are. I encourage all of my Clients to find beauty within themselves and more importantly, to love themselves exactly who they are.

With good lighting plus professional hair & makeup, the right camera angles, and tailored retouching specific to you, you CAN look better than you imagined!


In November 2021, the Chief Financial & Administrative Officer for Independent Case Management of Little Rock reached out to me to inquire about headshots for their leadership team. ICM is a not-for-profit organization that provides home and community-based supports to individuals with intellectual and developmental disabilities (IDD) throughout the state of Arkansas. After we coordinated dates, scouted out a location, and did a little advance planning, photos were taken in December a few weeks before Christmas. After the Client made their selection, their retouched photos were delivered via digital download on January 5, 2022. You can read their testimonial here (and more), but here is what my new Client had to say:

We were looking for a photographer who could execute our vision of fresh, modern headshots. Karen’s work in her online portfolio drew us in and aligned with what we were seeking. She was very responsive and attentive to detail when we reached out to her. Karen made sure every detail was taken care of. She worked with us through all the steps from booking, what to wear, what to expect, and she was very professional and warm. Our expectations were exceeded! The photo set up and session was high-end and felt very cutting edge. We felt like we were in great hands. Karen’s approach to making people look and feel their best shines through her work. — Kathryn Rogers | Chief Financial & Administrative Officer | ICM of Arkansas

To see ICM’s new head shots, you can view them here.


If you’re ready to put your best face forward and start 2022 with a new headshot, e-mail me and we can discuss. I’d love to work with you. 501-607-0090 or you can visit my get in touch page.


Personal footnote

It had been four years since since my last headshot, and I had run out of excuses. It was time.

I took my own advice. I coordinated with a professional photographer whom I trust, hired hair and makeup and brought a few different outfits that represented me and my brand.

After we shot the professional photos, my makeup artist said, “Ok girl, this hair is too perfect. It’s got to go. Let’s go full-on Pat Benatar and mess this up.” I changed into a sweater and wore my puffy jacket. Naturally, those photos were my favorite. The causal look is more me and represents my brand perfectly!

I LOVE the results.

Product Photography | Industry and Manufacturing | Karen E. Segrave

Beautiful product photography can be very simple in appearance, yet often challenging to achieve. Why? Because good lighting is everything.

I am always up for any task and eager to learn and try new things, so I was very excited in late November when a long time client, an Atlanta-base agency specializing in building and construction products, reached out on behalf of their Canada-based client who manufactures decorative architectural siding and corner pieces that replicates cedar shake and decorative stone.

The project for the Client was simple: to photograph each of the items on seamless white paper for two of their top-selling product lines capturing the intricate color and texture detail offered in both. The photos would then be used in online product catalogs that would appear on the company's website as well as websites for major big box retailers: Home Depot, Lowe’s, Menard's, etc.

The products I photographed for this project offers affordable luxury that is attractive and easy to install with its unique product lines. These products are the perfect ft for builders, contractors, facility managers, home improvement retailers and consumers who take pride in the aesthetic appearance of their home or offices.

Ninety-nine percent of my photo shoots are on location so I do not have a brick and mortar studio. Since the project was going to span numerous days, I opted to photograph everything in my home studio: AKA the garage. After the budget and timeline was discussed and approved, the fun began.

The first task: The delivery of the nine-foot by nine-foot pallet containing more than 20 boxes of product into my garage. The boxes were delivered by freight truck and since I have a steep driveway, the driver could not get the pallet jack up into my garage. So with the help of my trusty Rock-N-Roller cart, we broke the pallet down and hauled everything into my garage, a few boxes at a time. Thankfully, none were heavy, just too bulky to carry by hand.

Time to sort the boxes.

Time to sort the boxes.

All of the products were architectural panels and corners ranging in size from 12”-18” inches tall for the corners and between three and four feet long for most of the panels. One speciifc product line consisted of panels that were eight feet long and about eight inches wide. This posed the biggest challenge.

How do I photograph something eight feet long, and extremely narrow when compared to its length in my garage?

The solution: shoot it vertically.

My husband, who can build pretty much anything, constructed a 7.5’ foot tall L-shaped bracket that we weighted down with sandbags. I then used gaffers tape to adhere each panel to the L-shaped bracket vertically and photographed them one at a time.

Please ignore my messy garage.

Please ignore my messy garage.

In addition to an overall wide, the client wanted a small panel secton to show details in color and texture. I used a 35mm prime lens for the overall wide photos and a 100mm macro for the details. Since all of these products were going to be dropped onto a plain white background with no shadows, I wasn't too concerned about showing various items of the edge of the frame. The key was to get all of the product on the white paper and lit correctly with the correct white balance. I used Profoto lighting for the entire project because Profoto makes awesome lights and there is ZERO color shift.

Overall, the eight foot long panels took the most time because of going back-and-forth between between the 35mm and a 100mm lenses. I marked the spaces on the floor where the tripod sat for each different lens, assuring correct scale and proportion for every piece. Once the color was approved for the eight foot panels, it was onto the corners. This was a relatively easy and straightforward shoot. I set up a small tabletop background using a four foot wide white seamless paper background. The overhead light was a deep white umbrella with diffusion and two strip lights without the grids lights which were set at approximately 4 o'clock and 8 o'clock on opposite sides.

The finished eight-foot-long panel in Sequoia.

The finished eight-foot-long panel in Sequoia.

The finished detail panel in Sequoia.

The finished detail panel in Sequoia.

IMG_1439.JPG

For the smaller panels, I set up another white background allowing for the panels to lay fat. Some panels were set on a table and some directly onto floor. The lighting for set up was different. Two lights with deep white umbrellas were set at opposite ends of the table and up about eight feet high with the lights angled close to vertical. I wanted an even wash of light spilling down onto the panels and to avoid any reflections or glare. To photograph the flat panels, I attached my Canon 5D Mark III to a C-stand boom arm, and positioned directly overhead and centered to each panel. I used CamRanger to focus remotely and to trigger the shutter on my iPad and then each photo was previewed and checked before I moved on to the next. Each and every piece was photographed with the X-Rite color checker to ensure correct exposure and white balance accuracy.

The finished corner piece in Sequoia.

The finished corner piece in Sequoia.

The photography was the easy part. The real challenge for me came in post. As a photographer, I am used to slightly adjusting and tweaking colors in just about every photo I take. I want to bring down highlights, bring out details in the shadows and make the colors pop. For this particular project, and with many product photography projects where color is key, you cannot adjust the colors… at all.

For the sake of the consumer, each piece must be photographed as is, no color adjustments. Proper lighting and white balance was critical. Have you ever ordered something online because you liked a specific color, and then once the product arrived at home, the color was off? Like way off? Yep, it’s happened to me too. I wanted to make sure the color appeared exactly as is. With nearly 150 products to photograph, I only had to adjust colors per the clients request to fewer than seven.

Overall, the agency owner was extremely pleased with the results as was the Client. I am looking forward to more projects with both Clients later this winter and into the spring.